


Read More http://herlemonadestand.blogspot.com/p/cooking-club.html
Showing posts with label tutorials. Show all posts

Monday, December 13, 2010

White Chip Chocolate Cookies

   No lie, you can make these cookies with a baby on your hip.
{See Jim, this is why I need a stand mixer, then I would be able to make you more desserts!}
   They are that easy! Usually, super easy recipes don't really taste all that great. And recipes off the back of product packages aren't that great either...but I'm telling you these are the exception!!!
   It's like eating a brownie cookie with little morsels of ooey goodness!!!!
   I'm headed to the Annual Troxler Cookie Swap in just a few hours and I'm taking a few dozen of these little treats.
   If you try them, you won't be able to stop at just one. Take that from a girl that is surprisingly not a big fan of cookies...I just have a husband who is!
All you need is this:
2 1/4 cups all-purpose flour
2/3 cup NESTLÉ® TOLL HOUSE® Baking Cocoa
1/4 teaspoon salt
1 cup (2 sticks) butter, softened
3/4 cup granulated sugar
2/3 cup packed brown sugar
1 tsp vanilla extract
2 large eggs
2 cups (12-oz. pkg.) NESTLÉ® TOLL HOUSE® Premier White Morsels
   Preheat oven to 350. Set out your 2 sticks of butter and 2 large eggs and bring to room temperature. {use butter, not margarine, for cookies. The oil in the margarine can make the cookies too soggy.}

In a separate bowl, combine flour, cocoa, baking soda and salt.
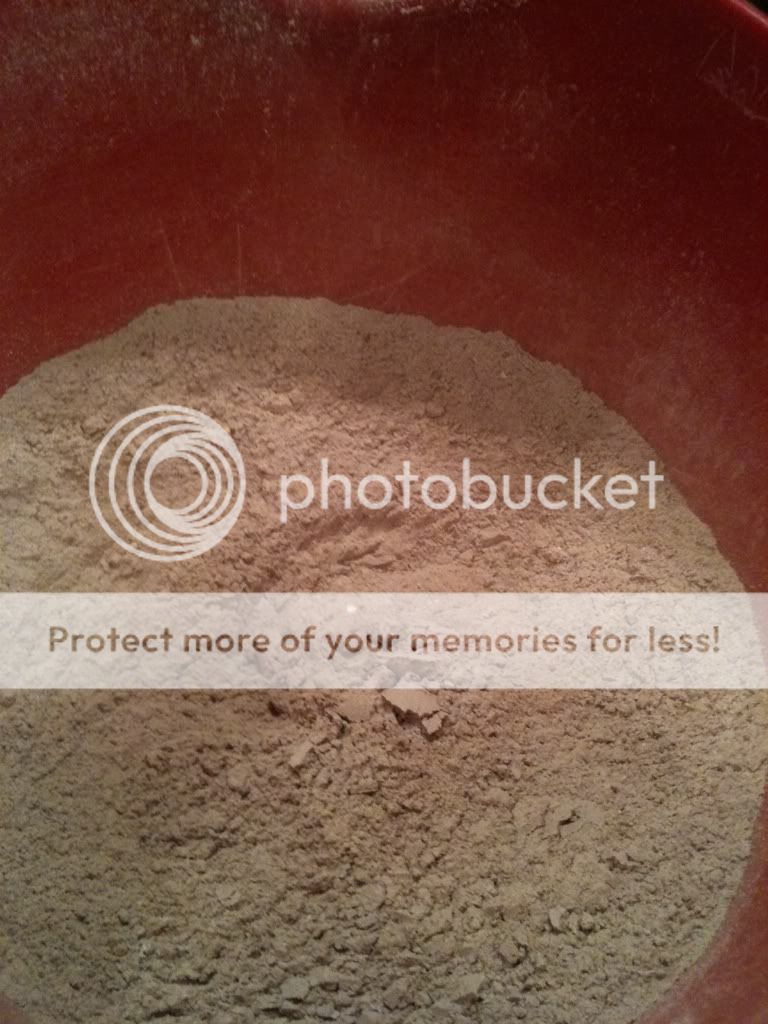
{I like to sift my dry ingredients together. My husband doesn't see why I would need a sifter, so I use my small metal strainer.}

By sifting it, it should turn out looking a little like this when you are done.
Cream together butter and granulated sugar.

Add in your brown sugar.
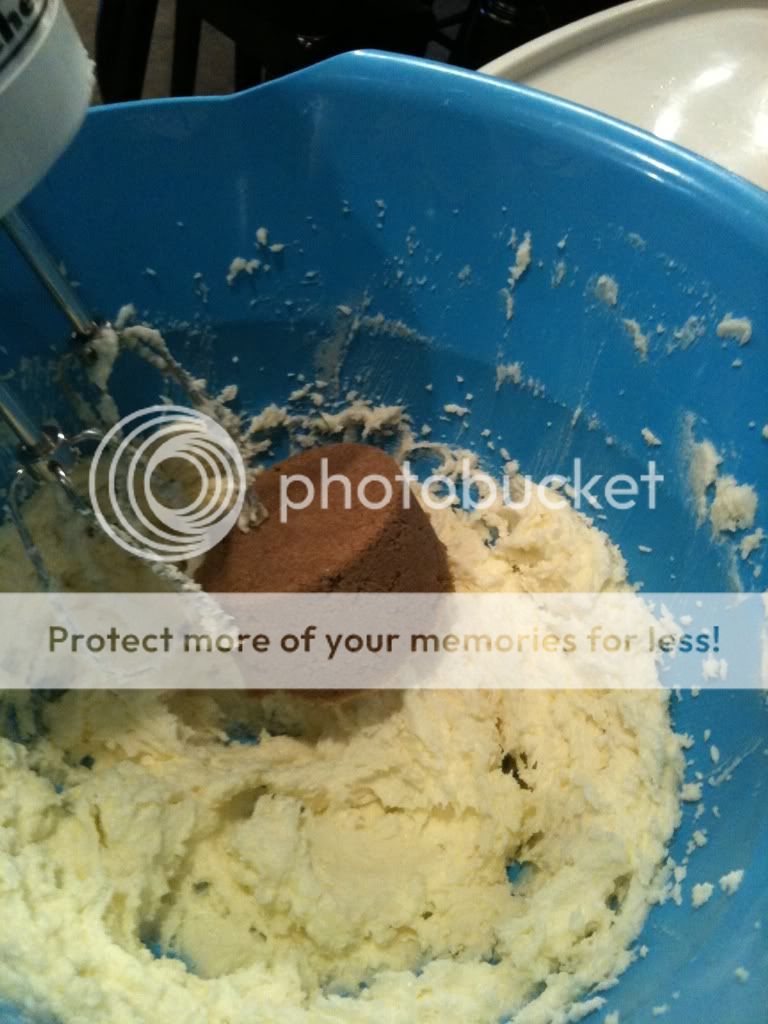
Add a teaspoon of vanilla extract.
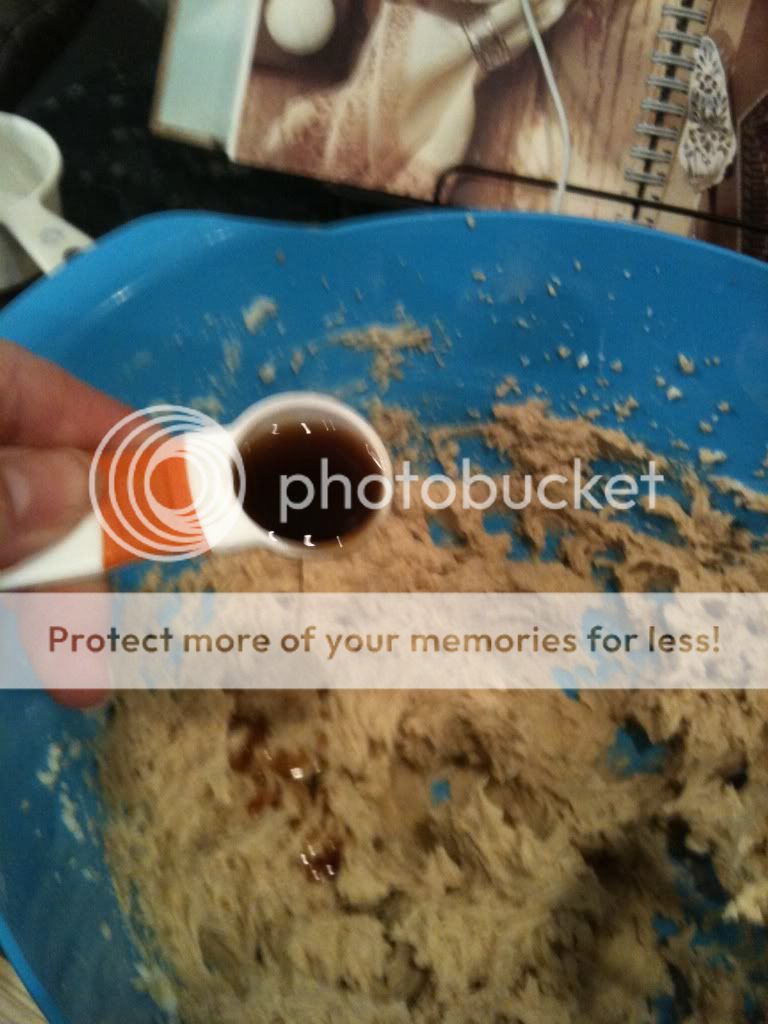
Blend in eggs, one at a time.
Then gradually pour in your dry mixture.
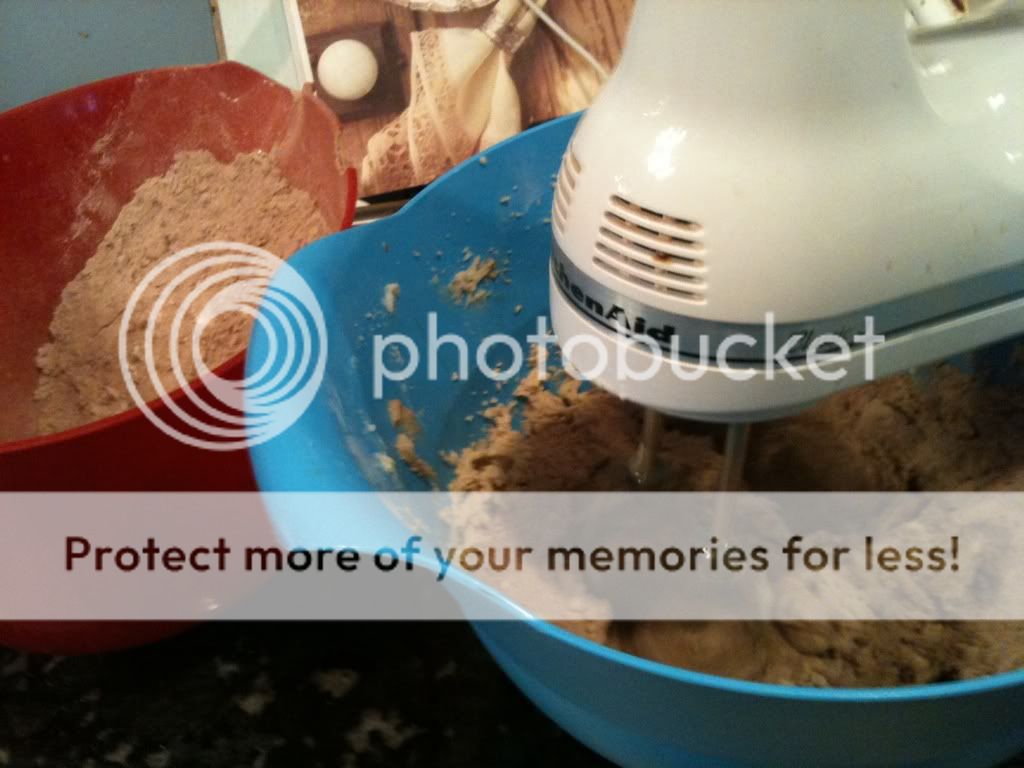
The batter will be thick.

Use a sturdy spoon to stir in the White Chocolate Chip Morsels! 
{White Chocolate chips make anything better!}


Now, if you don't have these next two items, a small ice cream scoop and a silicon baking pad, you should seriously ask Santa for one this year! They are a baker's best friend! 

This scoop, that I found second-hand, makes the perfect sized scoops for cookies. 

Place scoops of cookie dough about an inch and half apart on baking pan.

Bake in preheated oven for 9-11 minutes.

This recipe yields about 60 cookies! I've got plenty for the cookie swap and a few left over for some hungry little boys and a very hungry daddy!

Cool on pan for 2 minutes then move to wire racks to cool completely! 

I even think a scoop of vanilla bean ice cream and a drizzle of chocolate syrup would take this "cookie" to a whole new level!!!

Saturday, May 15, 2010

Worst Dessert Ever!

     I don't let Jim in my kitchen very often, and when I do, it's only as my sidekick. When he married me 5 years ago it was okay to have a dessert every night. I hadn't yet birthed three kids and had a job that kept me on my feet 8 hours a day.
     Now, well you know the story, my sweet husband requires a dessert every night. If I don't have something made he will scrounge through the pantry and fridge to see if we have the ingredients for whatever he is in the mood for.
     I got smart a long time ago and started making him desserts that I didn't like just so it wouldn't be so hard to say no. But, there are only so many desserts that I am not going to like!!! Then I thought I was being clever when I just stopped making them, but that just opened the door for him to get into my kitchen and drive me batty. Yep, if I don't have a dessert, the crazy man gets in there and starts messing up my kitchen! It's not that he's not a good cook or anything, because he is,  it's just that I'm afraid he might use the wrong side of the knife and put it back in the wrong place. And he really doesn't know the difference between Self-Rising and All-Purpose and I'd rather not explain the two! Just kidding. I'm just a control freak.
     Then one night, I had the best-most-worst dessert ever at a friend's house. She put a scoop of cookie dough in the bottom of an oven-safe bowl, baked it, and then served the cookie, in the bowl with a scoop of ice cream and chocolate syrup on top!!!!!
     You guessed it! I came home, made it for Jim and HE LOVED IT.  Big surprise, I loved it too!
It's sooo awful, but so easy. And the best part is...it requires no messing up of my kitchen! I love it even more!
This has become my "go-to" dessert when I am not in the mood to make something or feel like thinking much that week. I make sure I always have the two key ingredients on hand: Ice Cream & Ready Bake cookies, like these:
{If you are like me and don't want to be tempted with this dessert, you can do what I do and buy a type of cookie dough that you don't like!}
The Tupelo Middle School Cheerleaders just came around selling those big tubs of cookie dough that you can keep in your fridge...Those are perfect for this dessert!
Next, you will want a bowl like this. These are our everyday bowls that we use for everything.
But make sure it says this on the bottom::::::
Oven Safe 
 Then you put a scoop, or 1-3 of those pre-cut cookies in the middle of the bowl. {I use 1, Jim uses 3!}
These cookie scoops in this pic are actually scoops of homemade cookie dough. I was making a batch and had enough left for 2 bowls of dessert.  
Bake on 350 or whatever your cookie package recommends, for about 14 minutes. Top with a scoop, or two of your favorite ice cream and chocolate or caramel syrup and nuts...oh and the list just goes on! And that's it!!! You serve it in the bowls you make it in! See why I don't mind if Jim makes this one himself!

I suggest letting it cool for a few minutes after taking it out of the oven just so you can hold your bowl and ooh and ahhhh and let out a few mmmmmmmmmm's as you try to practice some self control and not lick the entire thing clean!!!!
I was out of chocolate syrup when I took these pics. Thank goodness!!!
You can thank me later for this one!

Friday, May 7, 2010

Good ole Molasses Cookies

     It's Cooking Club time tonight!!! I love the first Friday of every month! As I mentioned before we are going through Cooking Light, The Complete Cookbook: A Fresh New Way to Cook. This month I have to bring a dessert. This cookbook is full of fun dessert recipes, but I'm going to go simple tonight. I am headed to the kitchen right now to start on Molasses Cookies.
     One of the purposes of our Club is to try new things, and to see what something looks and tastes like and what worked and didn't work for certain recipes. I re-make at least one or two things from each month's club. It's sooo much fun!!! This month's choice for cookies is to remind myself to go back to something basic and simple!
    Here we go and I am sooooo glad that I didn't eat these things before I got to Wendy's house... they are just that good! AND....they are actually low fat!!! Yah, check out the recipe to see how these delish cookies can actually be considered a healthy choice!
   First though, I want to show you what you do when your oven is on 375, your hands soaked in cooking oil and all three of your kids wake up from their naps:
Yah, I know...she looks real excited to be there doesn't she!!
Anyway, back to the cookies... {I usually preheat my oven before I do anything, but wait...don't heat it up until you put the dough in the freezer. There will be plenty of time to heat it up then.}
You will need:
1/2 cup       applesauce
1 1/4 cups   sugar, divided
6 Tbs          butter, softened
1/4 cup       dark molasses
1 large        egg
1 cup          all-purpose flour
1 cup          whole wheat pastry flour
2 tsps          baking soda
1 tsp           ground cinnamon
1/2 tsp        salt
1/2 tsp        ground ginger
1/2 tsp        ground gloves
Cooking spray
From the picture that looks like a lot, but really these were super, super easy.
1. Spoon applesauce onto several layers of heavy-duty paper towels, let stand 5 minutes. {I used 3 regular absorbant paper towels on top and bottom} Scrape into a bowl using a rubber spatula.
2.  Combine the applesauce, 1 cup of the sugar and butter; beat with a mixer at medium speed until well blended {about 3 minutes}
Add molasses and egg; beat well.
3. Lightly spoon flours into dry measuring cups, level with a knife. Combine flours and baking soda, ground cinnamon, salt, ginger and cloves, stirring well with a whisk.  {I used whole wheat flour, instead of ww pastry flour. If you do so, you can sub with 1 cup whole wheat flour minus 2 Tbs whole wheat flour for the 1 cup wheat pastry flour.} Add flour mixture to sugar mixture, beating until blended.
 
Cover and freeze 30 minutes or until firm.
4. Preheat oven to 375.
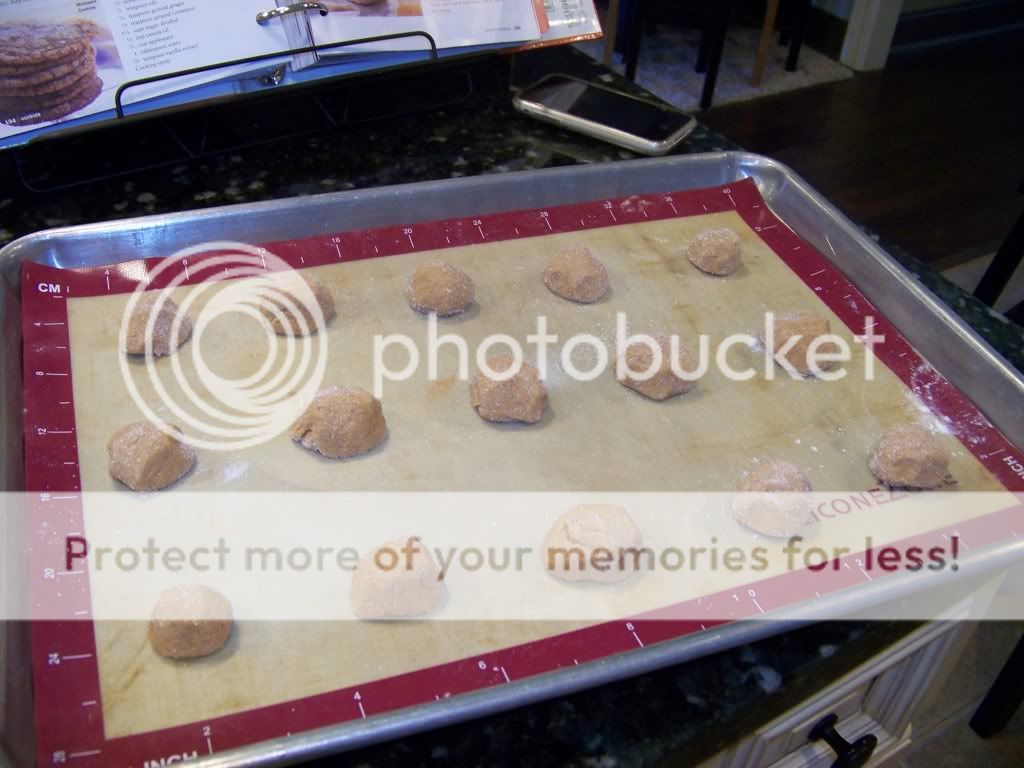
5.  With moist hands, shape dough into 32 (1 -inch) {My batch made 48} Roll balls into 1/4 cup of sugar.
Place 3 inches apart on baking sheets coated with cooking spray. {I heart my silpat pad!} That's a silicone baking pad that nothing sticks to!!! It realllly is the best thing since sliced bread!!! I use it for everything. If you don't have one, seriously, get off this computer and go get you one!!!
Bake at 375 for 8 to 10 minutes. {8 minutes makes them good and chewy!}
Cool on pans 5 minutes. Remove from pans; cool completely on wire racks.
Now all you need is a very cold cup of milk and a comfy chair!!!!!

Friday, February 26, 2010

I had to get back in the kitchen sometime

     My sweet friend Tammy had us over for dinner recently and made Chicken BBQ "Sammies" in her crockpot!!! OOOhhhhhhhhhhh, those things melted in my mouth. Jim even had seconds. It was sooo good. She got the recipe from Heather at Home with Heather and I of course had to have it too!
     I have never successfully made anything in my crockpot, but Tammy and Heather make it sound so easy and very helpful for busy mommies. I knew I was going to have to get back in the kitchen and start cooking at some point, so why not try these Sammies!
Here's what I used:
1 cup Ketchup
1/2 cup Maple Syrup
2 Tbs Mustard
2 tsp Lemon Juice
1/2 tsp Chilli Powder
1/4 tsp Garlic Powder 
4 Chicken Breasts (boneless, skinless)

I mixed all the ingredients in my greased crockpot pot.
I didn't have any garlic powder so I used minced garlic instead.
I cut as much fat from the chicken breasts as I could
Set my crockpot for 4 hours, I think I was supposed to do it for 5 though.
Added my chicken breasts.
In about 3 hours, my chicken was tender enough to shred with two forks.
And that's it! I think I had my crockpot up too high though, because to finish out the 5 hours, my liquid all got absorbed and seemed a little dry to me, but it was still sooo yummy. We ate this on whole wheat buns and it lasted us for 3 days! Tammy had all the fixin's though...she had the cole slaw, potato salad and pasta salad!!!
The next time I make it, I'll attempt to make some cole slaw!
Cooking in my crockpot was finally a success!  Maybe I'll try it again!

Friday, February 19, 2010

Nana's Apple Cake

     Our friend Mary sells Tastefully Simple products. It's like Taste of Gourmet and Company's Comin'. If you are unfamiliar with these, they are a semi-homemade person's best friend! They usually consist of all the non-perishable ingredients to a recipe-you add the perishable. One of Jim's favorite is Nana's Apple Cake offered by Tastefully Simple. {See Mary's site here}
Really, this is all you need!
The mix, 2 cups of chopped apples (any type) and 2 eggs.
There are lots of options listed on the side panel that make different versions, but I went for simple!
I used Golden Delicious Apples, it only took about one and a half apples to make 2 cups.
Mix all ingredients, pour into 8x8 dish and bake for 45 minutes on 350.

I scooped out a spoonful of delicousness, topped it with some cool whip and toasted pecans and drizzled melted caramel over the top!
Visit Mary at Tastefully Simple to see what else they have!